A few months ago I retrieved my beloved sewing machine from the shelf to do some home decor and now I’m feeling in the sewing mood again wanting to make beautiful stuff for the house and for me too. It has been a good while since I took my sewing lessons so I wanted to refresh my memory with this incredible useful Sewing course from Crafsty with Diana Rupp.
The instructor, very well-know in the crafting world (she also knits), brings you from the very basics like making an envelope pillow to the nice and charming naughty skirt, I can’t wait to make my own one!
Needless to say that I am also providing myself with a few new tools really useful for this course and for the sewing life.
The Diana’s sewing book: S.E.W. Sew Everything Workshop
And a useful Self Healing Double Sided Quilting Cutting Mat 18″ x 24″ (45cm x 60cm)
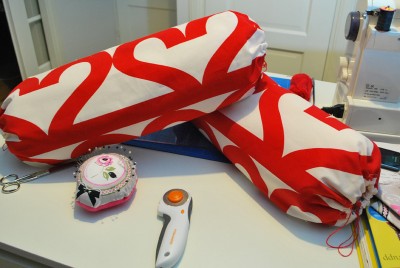
I’ve ready all my tools and my hearts fabric from Ikea, next I’m going to show you the sewing process to make these lovely pillows:
First measure your pillow: These are 18” (46 cm) wide x 19” (48 cm) circumference and 6” (15 cm) diameter sides.
Then make some maths: I have made each pillow cover from one piece of fabric closed in both sides using a cord or a trim making a bow like a sweet. I needed the piece of fabric long enough to go around the pillow and wide enough to cover both sides of them making also some hem to put the cords inside. I have added about 2” around to have some seam allowance. To calculate the wide of the piece I have done the following: pillow wide + half of each side + hem, remember must be bigger than usually to introduce the cord. Total 18 + 3 + 3 + 0.5 + 0.5 = 25 inches.
Each piece of fabric should measure 21 length x 25 wide inches.
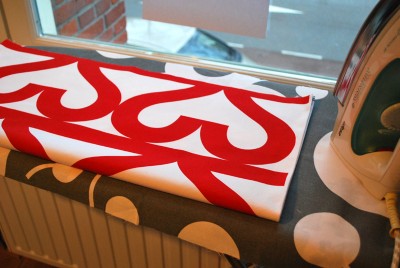
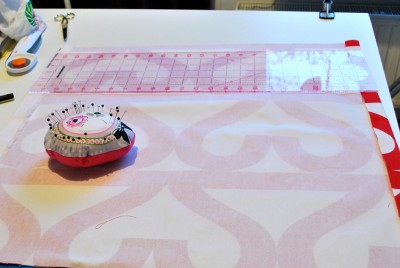
Cut the pieces with your rotary cutter and quilting ruler if you have one to make a straight line, press them before go to your sewing machine.
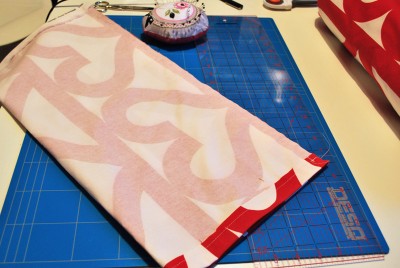
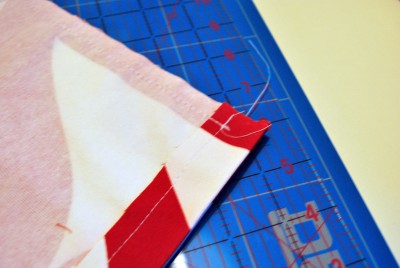
Sew both hems using the back stitching technique to avoid losing any stitch in the corners.
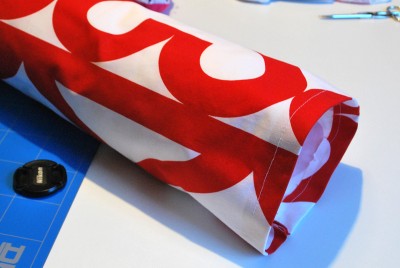
Press the fabric one more time and then sew the seam without sewing the hems, use here the back stitching technique to secure both sides.
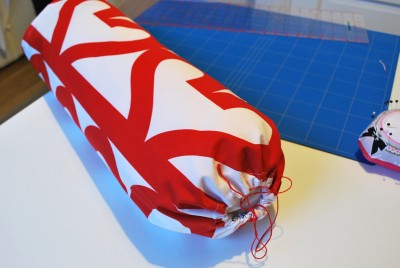
Now introduce the cord or piece of yarn that you want to use with a safety pin and make a bow at the end.
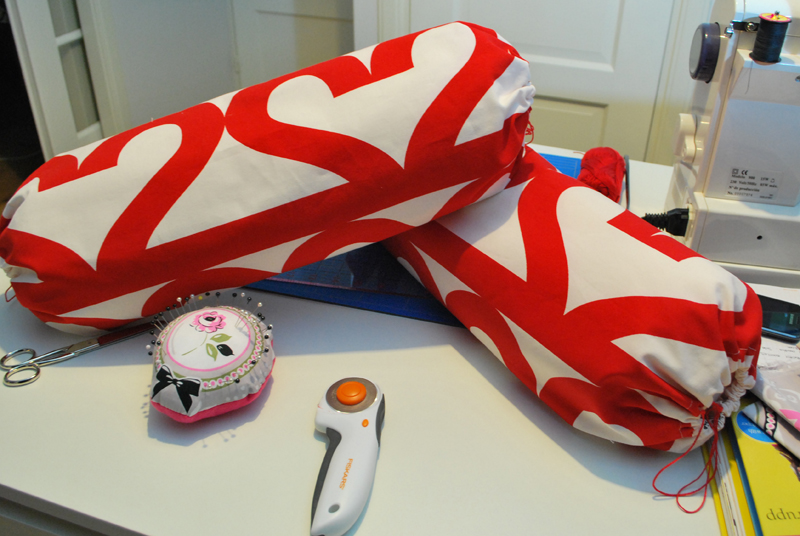
Your pillow cover is ready!
